Hey there, fellow food lover!
If you’ve ever spent an embarrassing amount of time scrolling through hypnotic, 30-second recipe videos on your phone, you are definitely not alone. There is something incredibly therapeutic about watching a block of cheese melt in high-definition, or hearing the crisp crunch of a perfectly toasted sourdough slice.
But here’s a secret that many culinary enthusiasts are starting to realize: those ultra-short, addictive videos aren’t just entertainment. For food bloggers, they are the single greatest marketing and revenue-generating engine of our time.
If you already have a food blog—or you’re dreaming of starting one—you might be wondering how to turn those quick culinary clips into a sustainable, full-time income. Is it really possible to make money when your content is under a minute long?
The short answer is: Absolutely. But the magic doesn’t happen just by uploading random videos and hoping for the best. It happens when you strategically connect the viral reach of YouTube Shorts with the high-earning potential of a classic food blog.
Pour yourself a cup of coffee (or tea!), and let’s walk through the exact, step-by-step blueprint to turn your kitchen passion into a highly profitable digital business.
The Big Picture: Why YouTube Shorts + Food Blogging is a Match Made in Heaven
Before we jump into the steps, let’s look at the “why.”
Historically, food blogging was an SEO (Search Engine Optimization) game. You wrote a 2,000-word post about your grandmother’s banana bread, optimized it for Google, and hoped to rank on the first page so you could earn ad revenue. While SEO is still incredibly important, ranking on Google takes time—sometimes months or even years.
On the other hand, YouTube Shorts are incredibly viral. The algorithm is designed to push entertaining content to people who don’t even know you exist yet. A single Short can rack up hundreds of thousands of views in a few days.
However, relying only on Short’s ad revenue is a tough road. Because of the way YouTube pools ad revenue for short-form content, the payout (RPM) is generally quite low—often between $0.03 and $0.10 per 1,000 views.
Here is where the hybrid strategy wins: You use YouTube Shorts as your “hook” to capture massive attention, build a highly engaged community, and drive them back to your food blog, your email newsletter, your affiliate links, and your digital products. By bridging these two worlds, you create a powerhouse business where one feeds the other (pun intended!).
Step 1: Hone In on Your “Hungry” Niche
If you try to cook everything for everyone, you’ll end up appealing to no one. The culinary world on the internet is crowded, so you need a specific angle that makes people say, “Oh, this is exactly what I was looking for!”
Instead of a generic “easy recipes” blog, consider narrowing down your focus to a sub-niche. Here are a few examples that do exceptionally well in short-form video:
- 15-Minute College Dinners: Fast, cheap, and requiring minimal kitchen gear.
- Gluten-Free Air Fryer Baking: Solving a very specific dietary restriction with a popular kitchen appliance.
- Dehydrator Magic: Showing people how to preserve food, make jerky, or create backpacking meals.
- Hidden Veggie Meals for Toddlers: A lifesaver for frustrated parents.
By picking a tight niche, your YouTube channel and your blog will establish authority much faster. It also makes your target audience highly predictable, which brands absolutely love when they are looking for sponsorship opportunities.
Step 2: The Anatomy of a High-Retention Food Short
The average human attention span on social media is shorter than that of a goldfish. You have exactly three seconds to convince a user not to swipe away.
To make your recipe videos irresistible, structure them with this proven flow:
1. The Visual & Verbal Hook (0-3 seconds)
Do not start with: “Hi guys, today I am going to show you how to make pasta.” Instead, start with a close-up shot of the finished, gooey, steaming dish being pulled apart, paired with a bold statement: “This is the only way you should be making Mac & Cheese in 2026.” Or: “Stop throwing away your overripe bananas—make this instead.”
2. The Rapid-Fire Value (3-50 seconds)
Keep the energy high. Cut out every single second of dead space. Show the chopping, the sizzling, and the pouring in fast, satisfying transitions. Use text overlays to highlight ingredient quantities so viewers don’t have to guess.
3. The Seamless CTA & Loop (50-60 seconds)
Instead of a boring “Please subscribe,” give them a reason to take action. Say: “The exact measurements and substitution guide are waiting for you on my blog, linked in the description below!” If you construct your ending sentence to flow seamlessly back into your opening hook, your video will loop beautifully, tricking the algorithm into seeing incredible viewer retention rates.
Step 3: Streamlining Production (And Finding Your Toolkit)
Let’s be real: filming and editing a video every single day can quickly lead to creator burnout if you don’t have a system. The secret to staying consistent without losing your mind is streamlining your editing process.
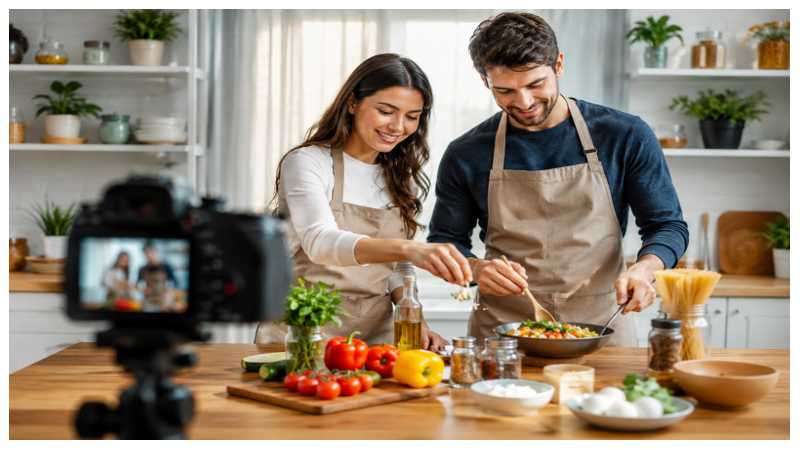
When you are starting out, you don’t need a thousand-dollar cinema camera. A modern smartphone, a tripod with a ring light, and a clean countertop near natural window light are more than enough.
To keep your production line moving fast, it is incredibly helpful to map out your content using some templates. For instance, you can use:
- A Storyboard Template: A simple notebook sketch of the 5 key shots you need for every recipe (The Hook Shot, The Prep Shot, The Cook Shot, The Plating Shot, and The Taste Test).
- A Text-Style Template: Consistent fonts, colors, and shadow settings in your editing software so your text captions always look cohesive and recognizable.
- An Audio/Voiceover Template: A script structure that you fill in for every recipe, ensuring you never forget to mention your blog link.
When it comes to putting it all together, you need an editor that lets you stitch clips, apply color filters to make your food look vibrant, and auto-generate clean captions. If you want to keep things incredibly simple, cloud-based editing tools are a game-changer. Looking for the best video maker online will help you find a platform that does the heavy lifting for you, allowing you to drag, drop, trim, and export stunning vertical videos in a fraction of the time.
Step 4: Monetizing Your Culinary Empire (The 5 Core Revenue Streams)
Once the views start rolling in on your Shorts, how do you actually turn those views into rent money? Let’s break down the most lucrative monetization avenues for food creators.
| Revenue Stream | How It Works | Payout Potential | Effort to Setup |
| High-RPM Blog Ads | Directing viewers to your website recipes, which host premium display ads (like Mediavine or Raptive). | High ($20–$40+ per 1,000 pageviews) | Medium |
| Brand Sponsorships | Partnering with kitchenware, grocery, or food brands to showcase their products in your Shorts. | Very High (Flat fee per post/campaign) | Medium |
| Affiliate Marketing | Linking your favorite kitchen gadgets, blenders, or grocery delivery services (like Instacart). | Passive & Consistent | Low |
| YouTube Partner Program | Earning a share of the ad revenue shown in the YouTube Shorts Feed. | Low to Moderate ($0.03–$0.10 RPM) | Medium (Requires 1k subs & 10M views) |
| Digital Products | Selling e-cookbooks, meal prep guides, or exclusive cooking community memberships. | High (You keep 95%+ of the profit) | High |
The Power of the “Recipe Link”
Never underestimate the power of your blog. If a Short gets 500,000 views and only 2% of those viewers click the link in your description or pinned comment to read the full recipe on your blog, that’s 10,000 highly targeted pageviews.
If your blog is monetized with a high-end ad network, those 10,000 pageviews could easily net you $200 to $400 in display ad revenue alone—far more than the pennies YouTube would pay you for the 500,000 views directly in the Shorts player!
Step 5: Your Day-by-Day Action Plan
Ready to cook up some success? Here is your step-by-step launch schedule to get your brand-new system off the ground:
- Day 1-2: Set Up the Hub. Launch a self-hosted WordPress blog. Keep the theme clean, minimal, and lightning-fast. Write your first 5 cornerstone recipe posts.
- Day 3: Optimize Your Channel. Create your YouTube Channel. Ensure your profile picture is a bright, friendly photo of your face (or a crisp logo), and write a bio explaining exactly what kind of food you make.
- Day 4: The Batch-Filming Session. Pick 3 simple recipes. Prep all the ingredients beforehand. Film the cooking process from two angles: an overhead flat-lay shot and a 45-degree close-up shot.
- Day 5: Edit and Schedule. Edit your videos, keeping them under 50 seconds. Write enticing titles like “The 10-Minute Lunch I Make When I Have Zero Time.” Schedule them to upload over the next three days.
- Day 6 and Beyond: Engage and Divert. Reply to every single comment on your Shorts. If someone asks, “Can I use oat milk instead of dairy?” reply with: “Yes, absolutely! I actually wrote a whole section on easy ingredient swaps in the full recipe on my blog—check the pinned link!”
Wrapping It All Up
Building a profitable food blog through YouTube Shorts is like baking a soufflé: it requires the right ingredients, a bit of patience, and a solid strategy. But when it rises, the results are incredibly sweet.
You don’t need millions of followers to start making a real income. By focusing on a specific niche, keeping your production process simple with templates, and routing your viral video viewers back to your own website, you are building an independent business that you own entirely.
So, put on your apron, grab your phone, and head into the kitchen. Your future audience is hungry—go make them something amazing!